

So, you're ready to dive into the captivating world of oil painting? Fantastic! Whether you're drawn to the rich colors, the smooth textures, or the sheer history of this traditional medium, oil painting offers endless possibilities for artistic expression. However, like any new skill, starting with the essential oil painting techniques is crucial.
This guide will equip you with 5 essential oil painting tips specifically designed for beginners, helping you navigate the initial stages of the painting process with confidence and ease.
1. Gather Your Essential Supplies for Oil Painting
Before you even touch a brush, ensure you have the right painting tools and quality of paint. Start with very lean paint (paint plus solvent). While oil painting doesn't demand an overwhelming arsenal, a few key items are indispensable:
- Paints: Start with a limited palette of oil paints. A basic set of primary oil paint colors (red, yellow, blue) plus white will allow you to mix a wide range of hues. Consider artist-grade paints for their vibrant colors and smooth consistency. Using a limited palette to mix a wide variety of colors is the secret to beautifully harmonized paintings. The artist-grade paints are more expensive and will mix nicer paint colors because they use better quality pigments. You can mix student-grade and pro-grade together, so as you get better, you can also start replacing colors with artist-grade. For oil and acrylic painters, you don't need pro-quality canvases.
- Brushes: Invest in a variety of brushes with different shapes and brush sizes. Some artists like to use a softer brush for finer details or glazing, and for this I'd recommend a black hog bristle brush which is softer than regular hog, or synthetic brush aimed at acrylic painters.
- Flat brushes: Excellent for covering large areas, laying down washes, and creating smooth strokes.
- Round brushes: Ideal for detail work, fine lines, and creating delicate shapes.
- Filbert brushes: Offer a combination of flat and round shapes, making them versatile for both broad strokes and precise details.
- Canvas: Choose a primed canvas board or canvas stretched over a frame. Experiment with different canvas textures – smooth, medium, or coarse – to see which you prefer. Most prepared canvases will state that they are ‘Triple primed with three layers of gesso' which actually means that they have been primed with a universal acrylic-based primer suitable for painting with either oil or acrylic paint. Painting straight onto a white canvas could warp your sense of value. Faced with a dazzlingly white canvas particularly if you are doing any kind of figurative painting from observation, it can be really hard to judge tonal relationships and colors. When it comes to oil painting, there are a lot of things that we can paint on – linen or cotton canvas, wood, plastic, or aluminum panels, just to name a few. Many professional artists prefer linen, but cotton canvas is also wonderful to paint on. Linen canvases have a tighter weave and are particularly elastic and strong, making them popular with many professionals. Some serious oil painters think it's better to work on a canvas that has been prepared with an oil-based primer rather than an acrylic one and prefer to buy ‘oil primed' linen canvases which are available at a price.
- Mediums: Experiment with different mediums like linseed oil (slow-drying), poppy seed oil (fast-drying), and turpentine (thinner). Mediums can help adjust the consistency, drying time, and glossiness of your paints. By adding an oil medium to your paint, you are making it fatter.
- Palette: A sturdy colour palette is essential for mixing colors. Consider a wooden palette with wells or a disposable paper palette.
- Palette knives: These handy tools are useful for mixing paints, applying thick layers (impasto), and scraping off excess paint. Not only will it be very expensive and your paint will take forever to dry, but because the outer skin of a thick mass of paint will dry more quickly than the paint on the inside you may end up with a wrinkled surface.
- Solvent: Use a solvent like turpentine or mineral spirits to clean your brushes.
- Rags: Keep plenty of rags on hand for wiping brushes and cleaning up spills.
- Easel: An easel will provide support for your canvas, allowing you to work comfortably in a standing or sitting position.
2. Learn to Mix Colors for Oil Painting
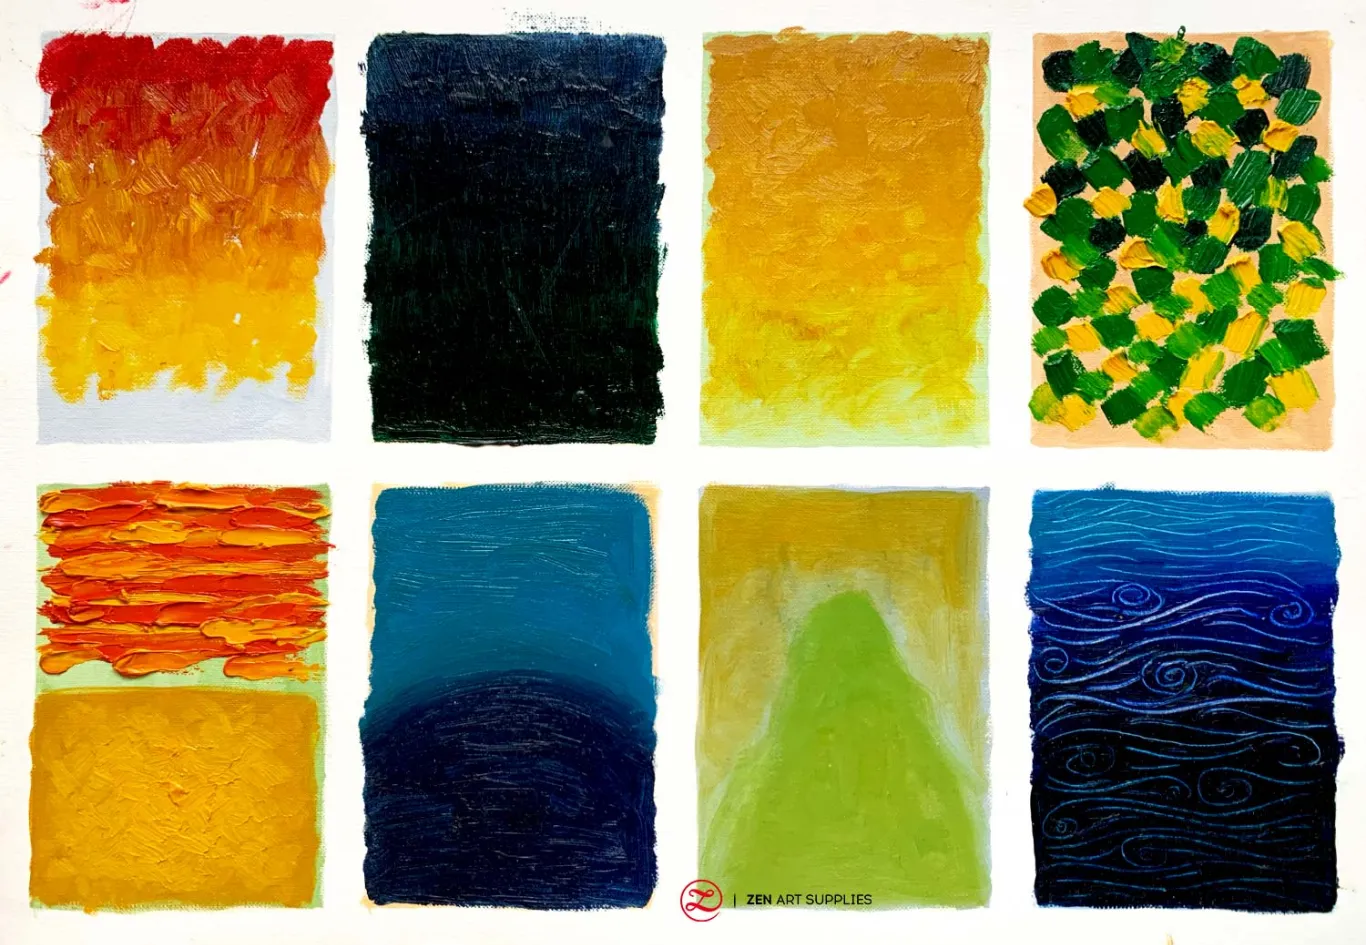
Color mixing is a fundamental skill in oil painting. Start by understanding how to create secondary colors by mixing two primary colors. For example, red and yellow create orange, blue and yellow create green, and blue and red create purple.
Experiment with mixing different amounts of colors to achieve various shades and tints for lots of paint. Don't be afraid to make mistakes – color mixing is a continuous learning process.
- Start with simple color combinations: Begin by mixing two colors at a time to understand how they interact.
- Create a color wheel: This visual tool can help you understand color relationships and plan your color palettes.
- Use a limited palette: Restricting yourself to a few colors initially will encourage you to explore color mixing and develop your understanding of color harmony.
3. Start with Simple Subjects for Oil Painting
When you're first learning to paint with oils, it's best to begin with simple subjects. Consider these beginning oil painting ideas:
- Still life: Arrange a few fruits, vegetables, or everyday objects and try to capture their form and color. Start with simple arrangements and gradually increase the complexity.
- Geometric shapes: Practice with basic painting shapes like squares, circles, and triangles to develop your hand-eye coordination and control. Experiment with different brushstrokes and techniques.
- Landscapes: Begin with simple landscapes like a field of grass or a distant mountain range. Focus on capturing the overall mood and atmosphere. Shadows are not simply an absence of light; they play a crucial role in defining the form and structure of the landscape.
- Portraits: Start with simplified portraits, focusing on capturing the essence of the subject's features.
4. Embrace Underpainting in Oil Painting
Underpainting is a foundational layer applied to the canvas before adding details. It typically involves a thin wash of a neutral color, such as burnt umber or raw sienna. The toned underpainting helps to warm up the painting as it comes through the first paint layer or layers.
Underpainting serves several purposes:
- Creating a tonal base: It helps establish the overall value structure of your finished painting. By applying a thin wash of a neutral color, you can quickly determine the light and dark areas of your composition.
- Improving color vibrancy: Colors applied over a toned surface often appear more vibrant and saturated.
- Preventing paint from drying too quickly: The underpainting provides a slightly damp surface for subsequent layers, allowing for smoother blending and longer working time. Every subsequent layer should be fatter than the prior (more oil medium / less solvent). Underpainting is a fundamental technique in oil painting that involves creating an initial layer of paint on the canvas before adding subsequent layers. If a layer of paint dries at a faster pace than a layer above it, it's likely to cause the paint on that upper layer to crack. If even artists' white spirit gives you headaches or you are particularly concerned about toxicity then there are low odor products such as Winsor & Newton's ‘Sansador' or Gamblin's ‘Gamsol' which are still petrolium-based but have had aromatic compounds removed and evaporate much more slowly. A popular product by Winsor & Newton called ‘Liquin' is an alkyd-based solution designed to dilute oil paint and increase its drying speed and viscosity.
- Creating a unified base: It helps to unify the composition and prevent areas from appearing "spotty."
5. Practice Patience and Persistence in Oil Painting
Oil painting is a rewarding but challenging medium. It requires patience and persistence. Don't get discouraged if your early attempts don't turn out exactly as you envisioned.
- Focus on the process: Enjoy the journey of learning and experimentation. Each painting is an opportunity to learn and grow.
- Don't be afraid to make mistakes: Mistakes are inevitable in the learning process. Embrace them as opportunities to learn and develop new skills.
- Take breaks: Step away from your beautiful painting and come back to it with fresh eyes. Sometimes a break can help you see your work with a new perspective.
- Seek inspiration: Look at the works of other oil painters and find inspiration in their techniques and approaches. Study the masters and contemporary artists whose work resonates with you.
- Join an art community: Connect with other artists through online forums, workshops, or local art groups. Sharing your art paintings and receiving feedback can be incredibly valuable.
6. Thin Your Paints for Smooth Application
Start with thin layers of paint and gradually build up thicker layers as you progress. This allows for smoother transitions and prevents the paint from cracking. Use a medium like linseed oil to thin your paints to the desired consistency.
7. Clean Your Brushes Properly for Oil Painting
Thoroughly clean your brushes with solvent after each use to prevent paint buildup.
- Use a brush soap or solvent specifically designed for oil paints.
- Work the solvent through the bristles gently to remove all traces of paint.
- Rinse the brushes thoroughly with warm water and allow them to dry completely.
- Reshape the bristles to their original form while drying.
8. Store Your Oil Paints Properly
Keep your paints tightly sealed to prevent them from drying out.
- Store your paints in a cool, dry place away from direct sunlight.
- If you're not using paint frequently, consider wrapping it in plastic wrap to minimize air exposure.
- Clean the rims of your paint tubes to prevent paint from hardening around the opening.
9. Explore Different Oil Painting Techniques
Try various techniques like glazing, scumbling, and impasto to add depth and texture to your paintings. Applying thicker, impasto layers of paint on top of thinner ones creates a stable structure.
- Glazing: Applying thin, transparent layers of color over a dry underpainting to create subtle shifts in color and tone.
- Scumbling: Applying a thin, broken layer of paint over a dry surface to create a textured effect.
- Impasto painting: Impasto painting can be done by applying thick layers of paint with a palette knife to create a textured and sculptural effect. With oil paints, thankfully, it's a much easier process; you can simply scrape back the paint with a palette knife (or, if the paint layer is thin, wipe it off with a rag) and paint over it.
10. Consider Oil Painting Classes for Beginners
Joining an oil painting for beginners class can provide valuable guidance from an experienced instructor.
- You'll learn from demonstrations, receive personalized feedback, and benefit from the camaraderie of fellow students.
- Many community centers, art schools, and online platforms offer beginner-friendly oil painting classes.
Conclusion
By following these essential oil painting tips, you'll be well on your way to mastering this beautiful and rewarding finished piece. Remember to have fun, experiment, and don't be afraid to explore your own unique style. If you have the opportunity to look at paintings by Claude Monet close up you'll notice that he uses loosely scumbled paint over more controlled and dried paint layers beneath