


Learning how to clean an oil painting properly is essential for maintaining the vibrancy and beauty of your décor, whether in business environments or curated collections. Dust, dirt, and environmental pollutants can build up over time, diminishing both the aesthetic and monetary value of your artwork. This comprehensive guide, built on insights from professional conservators and art restorers, outlines proven steps, materials, and precautions to ensure your oil paintings remain as striking as the day they were framed. With Lenoir Decor’s dedication to the art care craft, this article will help you confidently approach cleaning oil paintings, from understanding your masterpiece’s materials to preserving its legacy for years to come.
Table of Contents
- Understanding Oil Paintings
- Materials Needed for Cleaning
- Step-by-Step Cleaning Process
- Preserving the Longevity of Oil Paintings
- Common Mistakes and How to Avoid Them
- Expert Tips and Advice
- When to Consult a Professional
- Conclusion
Understanding Oil Paintings
Oil paintings have graced walls since the Renaissance, revered for their rich colors and longevity. At their core, they are crafted from pigments mixed with drying oils, which cure to form a durable yet sensitive surface. Modern oil paint shares these characteristics but can sometimes include additives affecting cleaning methodology. Unlike water-based paints, oil paintings demand specialized care—regular household cleansers or even excessive moisture can harm them.
Proper art care involves respecting the painting’s unique surface, whether achieved with palette knives for thick impasto strokes or delicate brushes for smooth blending. The need for cleaning oil paintings emerges both from natural dust accumulation and the desire to enhance their visual appeal. Adopting a routine focused on long-term care will help avoid complications like cracking, yellowing, or loss of vintage effects wash that provide character and value.
Materials Needed for Cleaning
Gathering the right cleaning kit is the foundation of any safe cleaning process. Essential tools and materials include:
• Soft Brushes: Goat or sable hair brushes work well for gentle surface cleaning.
• Cotton Swabs & Lint-Free Cloths: For targeted cleaning and drying, cotton swabs allow close-up work in crevices, while lint-free cloths prevent debris transfer.
• Cleaning Solutions: Professional art restorers may recommend olive oil-based soap, mild brush cleaner, or low-odor mineral spirits and white spirit to address grime, evaluated only after a spot test. Baby oil can sometimes surface in home methods but should be used sparingly due to potential residue.
• Paint Thinner: An option for stubborn build-up, but should be reserved for those with experience, as it can damage drying oils.
• Gloves & Masks: For your protection, always use nitrile or latex gloves and a mask when handling chemicals or dust.
• Protective Materials: Use drop cloths and cardboard to shield the painting’s edges and frame from cleaning agents.
Always prioritize safety. Work in a well-ventilated space and avoid any cleaners recommended for water-based paints, as they risk penetrating and lifting oil-based pigments.
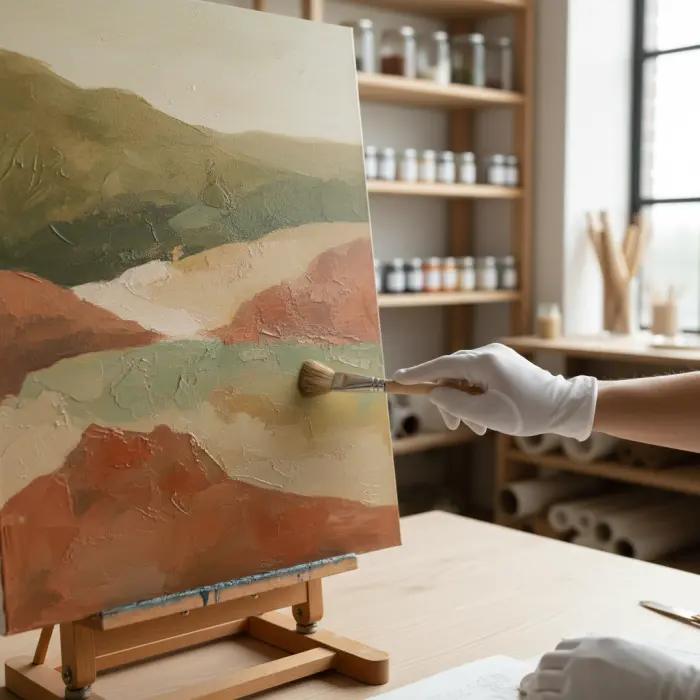
Step-by-Step Cleaning Process
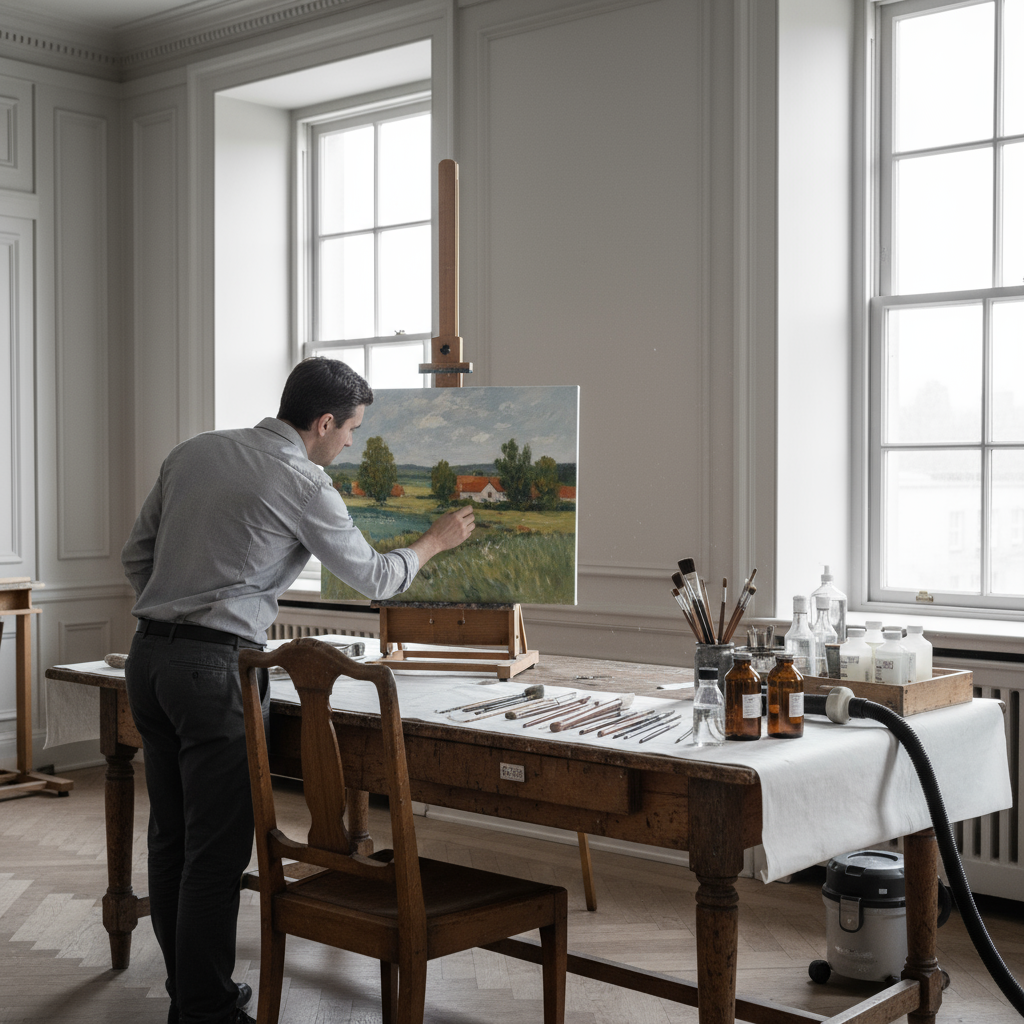
Adhering to a meticulous cleaning process ensures that both vintage heirlooms and modern masterpieces are preserved. Here’s how to clean an oil painting for optimal results:
• Preparation: Start by choosing a workspace away from direct sunlight, fluctuating temperatures, and high humidity for temperature control. Protect the surrounding area and your painting with covers, and lay the painting flat to avoid drips.
• Dusting the Surface: Using a soft, dry brush, sweep off loose particles gently. Small vacuums with HEPA filters or compressed air may help with deep crevices. Steer clear of excessive pressure; abrasion can damage surface texture and vintage effects wash.
• Spot Testing the Cleaning Solution: Mix a small amount of olive oil-based soap or mineral spirits (never water or water-based paints) and apply with a cotton swab to a discreet section. Observe for pigment lift, darkening, or unwanted reactions. This step protects against unintended chemical damage.
• Cleaning the Painting: Once the spot test is successful, lightly apply the chosen cleaning solution. For detailed areas or heavily textured paint from palette knives, use cotton swabs or soft brushes, changing them frequently. Mineral spirits and white spirit help break down oily residues, while art restorers often prefer brush cleaner for targeted cleaning. Move in small sections and avoid excess liquid. Never scrub.
• Final Touches: Wipe down gently with a dry, lint-free cloth. Inspect the artwork for missed spots and damage. Let it air dry horizontally at room temperature. Avoid rapid temperature changes that affect drying oils and the surface integrity.
Preserving the Longevity of Oil Paintings

After cleaning oil paintings, proactive steps are crucial for long-term care:
• Environmental Conditions: Maintain moderate temperature control and relative humidity (40%-60%). Extreme dryness or moisture may crack or warp the painting.
• Light Protection: Limit exposure to direct sunlight and UV rays. Install UV protective glazing in frames to shield artwork from light damage.
• Post-Cleaning Protection: Consider applying a reversible varnish layer, but only if recommended after cleaning. For additional safeguarding without chemical alterations, UV protective glazing also serves as a barrier against dust and pollutants.
• Storage and Display: Keep paintings away from radiators, vents, or drafty areas. Handle only with clean gloves to preserve pristine surfaces and prevent natural skin oils from degrading paint.
Following these steps helps ensure your artworks, whether newly commissioned or vintage, remain stunning centerpieces for decades to come.
Common Mistakes and How to Avoid Them

Maintaining oil paintings doesn’t have to be daunting. Avoid these common pitfalls:
• Incorrect Cleaning Solutions: Avoid using water-based paints, harsh household cleaners, or lemon-based agents—they can strip or warp pigment layers.
• Skipping Spot Tests: Always test cleaning agents, even trusted ones like mineral spirits, to spot adverse reactions before wide use.
• Overuse of Baby Oil or Paint Thinner: These can leave residue or cause surface color shifts if not removed thoroughly.
• Ignoring UV Protection & Temperature Control: Unfiltered sunlight and fluctuating heat cause long-term, sometimes irreversible, damage.
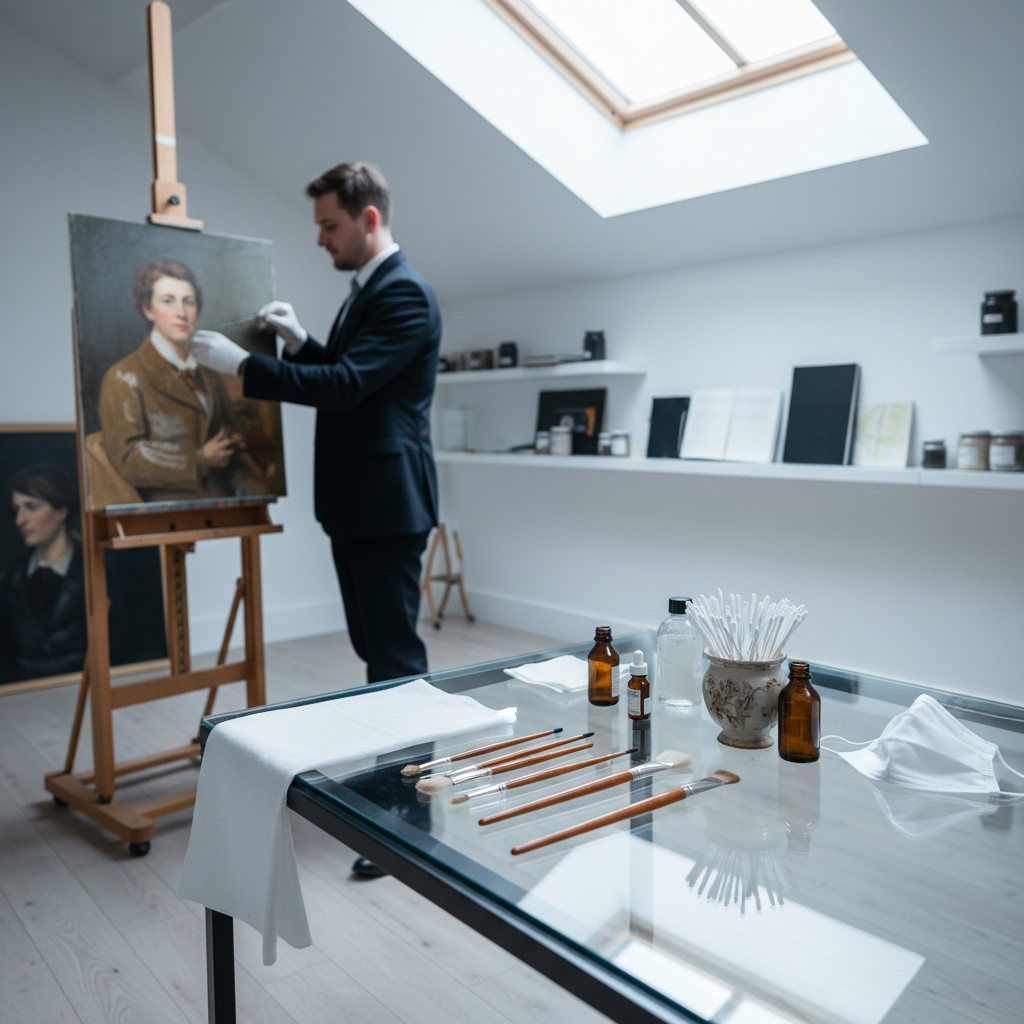
• DIY Restoration: Major repairs or deeply embedded grime should be handled by a professional conservator or art restorer.
For business environments or high-traffic hospitality decor, adding scheduled maintenance using tips from leading art-related blog posts can keep collections looking their best year-round.
Expert Tips and Advice
Professional conservators emphasize a few key pieces of advice when considering oil painting maintenance:
• Regular Surface Cleaning: Light dusting every other month prevents buildup, reducing the frequency of deeper cleaning sessions involving white spirit, mineral spirits, or brush cleaner.
• Invest in a Dedicated Cleaning Kit: Having solvent, olive oil-based soap, and the right tools ready minimizes risks of damaging drying oils or vintage effects wash.
• Consultative Support: When in doubt, reach out to an art restorer or professional conservator. Many offer remote assessments for business collections.
• Continuous Learning: Follow reputable art-related blog posts for evolving art care and art restoration techniques. Lenoir Decor offers expert-curated guides for our B2B partners to ensure display quality endures.
When to Consult a Professional
There is a time to tackle cleaning yourself and a time when expert intervention is essential. Seek a professional conservator or art restoration firm when:
• The painting has flaking, blistering, or active paint loss.
• You notice mold, water damage, or deep staining.
• The painting holds significant monetary or sentimental value.
• Previous amateur cleaning attempts have resulted in changes to texture or luster.
For business clients, Lenoir Decor recommends periodic professional assessments to ensure valuable artwork maintains its condition as an investment and design asset.
Conclusion

Refresh your collection—start cleaning your oil paintings today. Maintaining your decor’s brilliance is a matter of adopting expert-backed practices. Understanding how to clean an oil painting not only prolongs its life but elevates its role as a captivating element of your space. For tailored advice, expert cleaning kits, or connections to renowned art conservators, reach out to Lenoir Decor for all your art care and restoration needs.